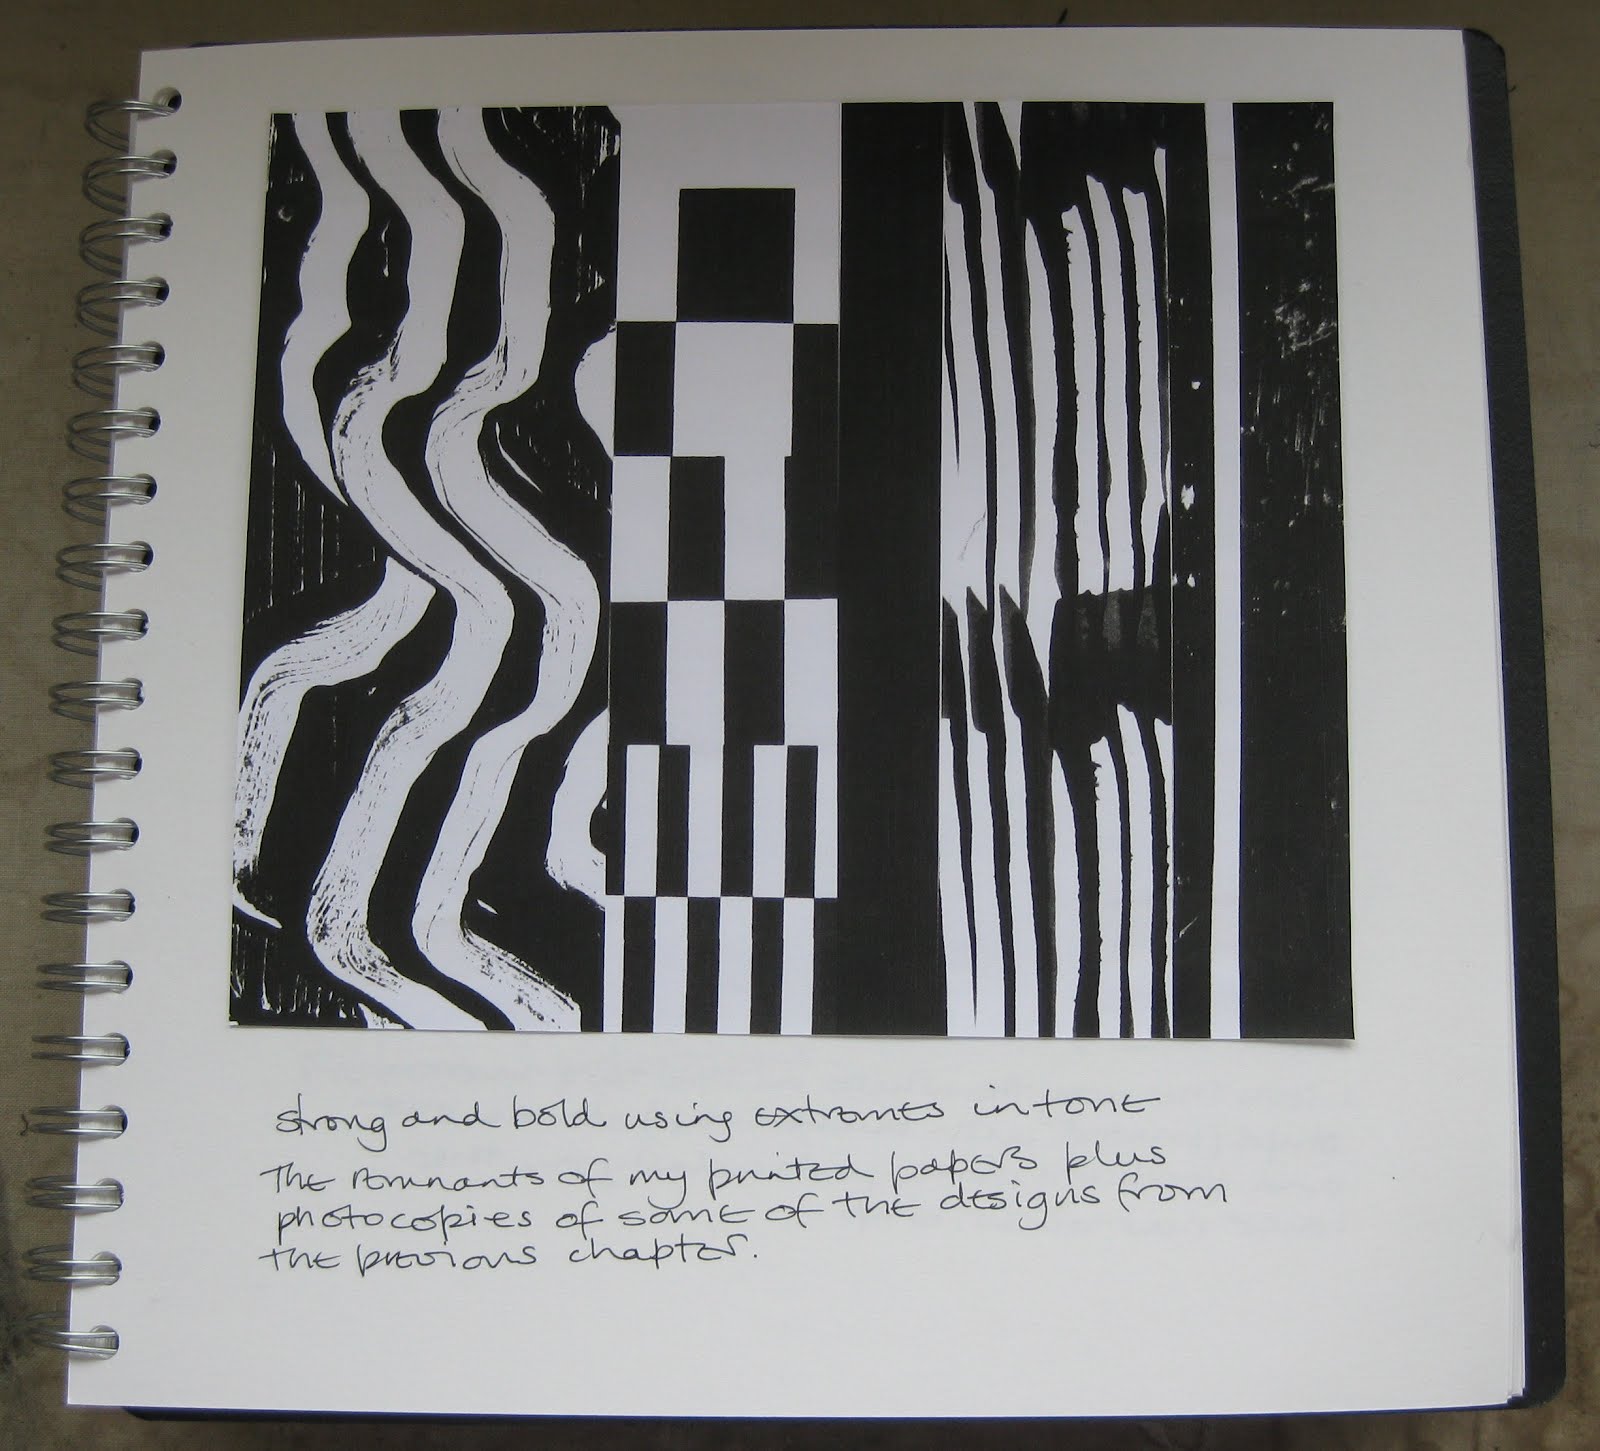
I mentioned to Sian that I'd noted that a lot of the images in my last post were very linear, so following her very useful suggestions, I've done some further work. I've had to but a new printer recently, and it has a photocopier and how much easier it makes producing lots of ideas almost as quickly as you can dream them up!
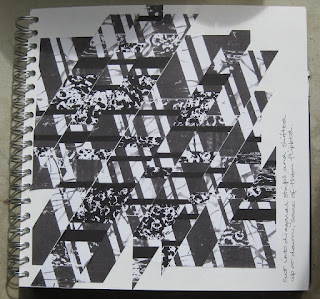
I started with image 9, made some diagonal cuts, kept the pieces in the same order and then shifted the strips up and down.
2.11.27

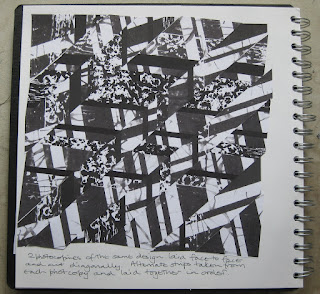
This is the same image, once again cut diagonally, but this time I turned some of the strips round before shifting them up and down. Not as much difference as I had anticipated.
2.11.28
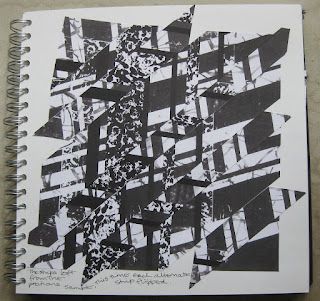
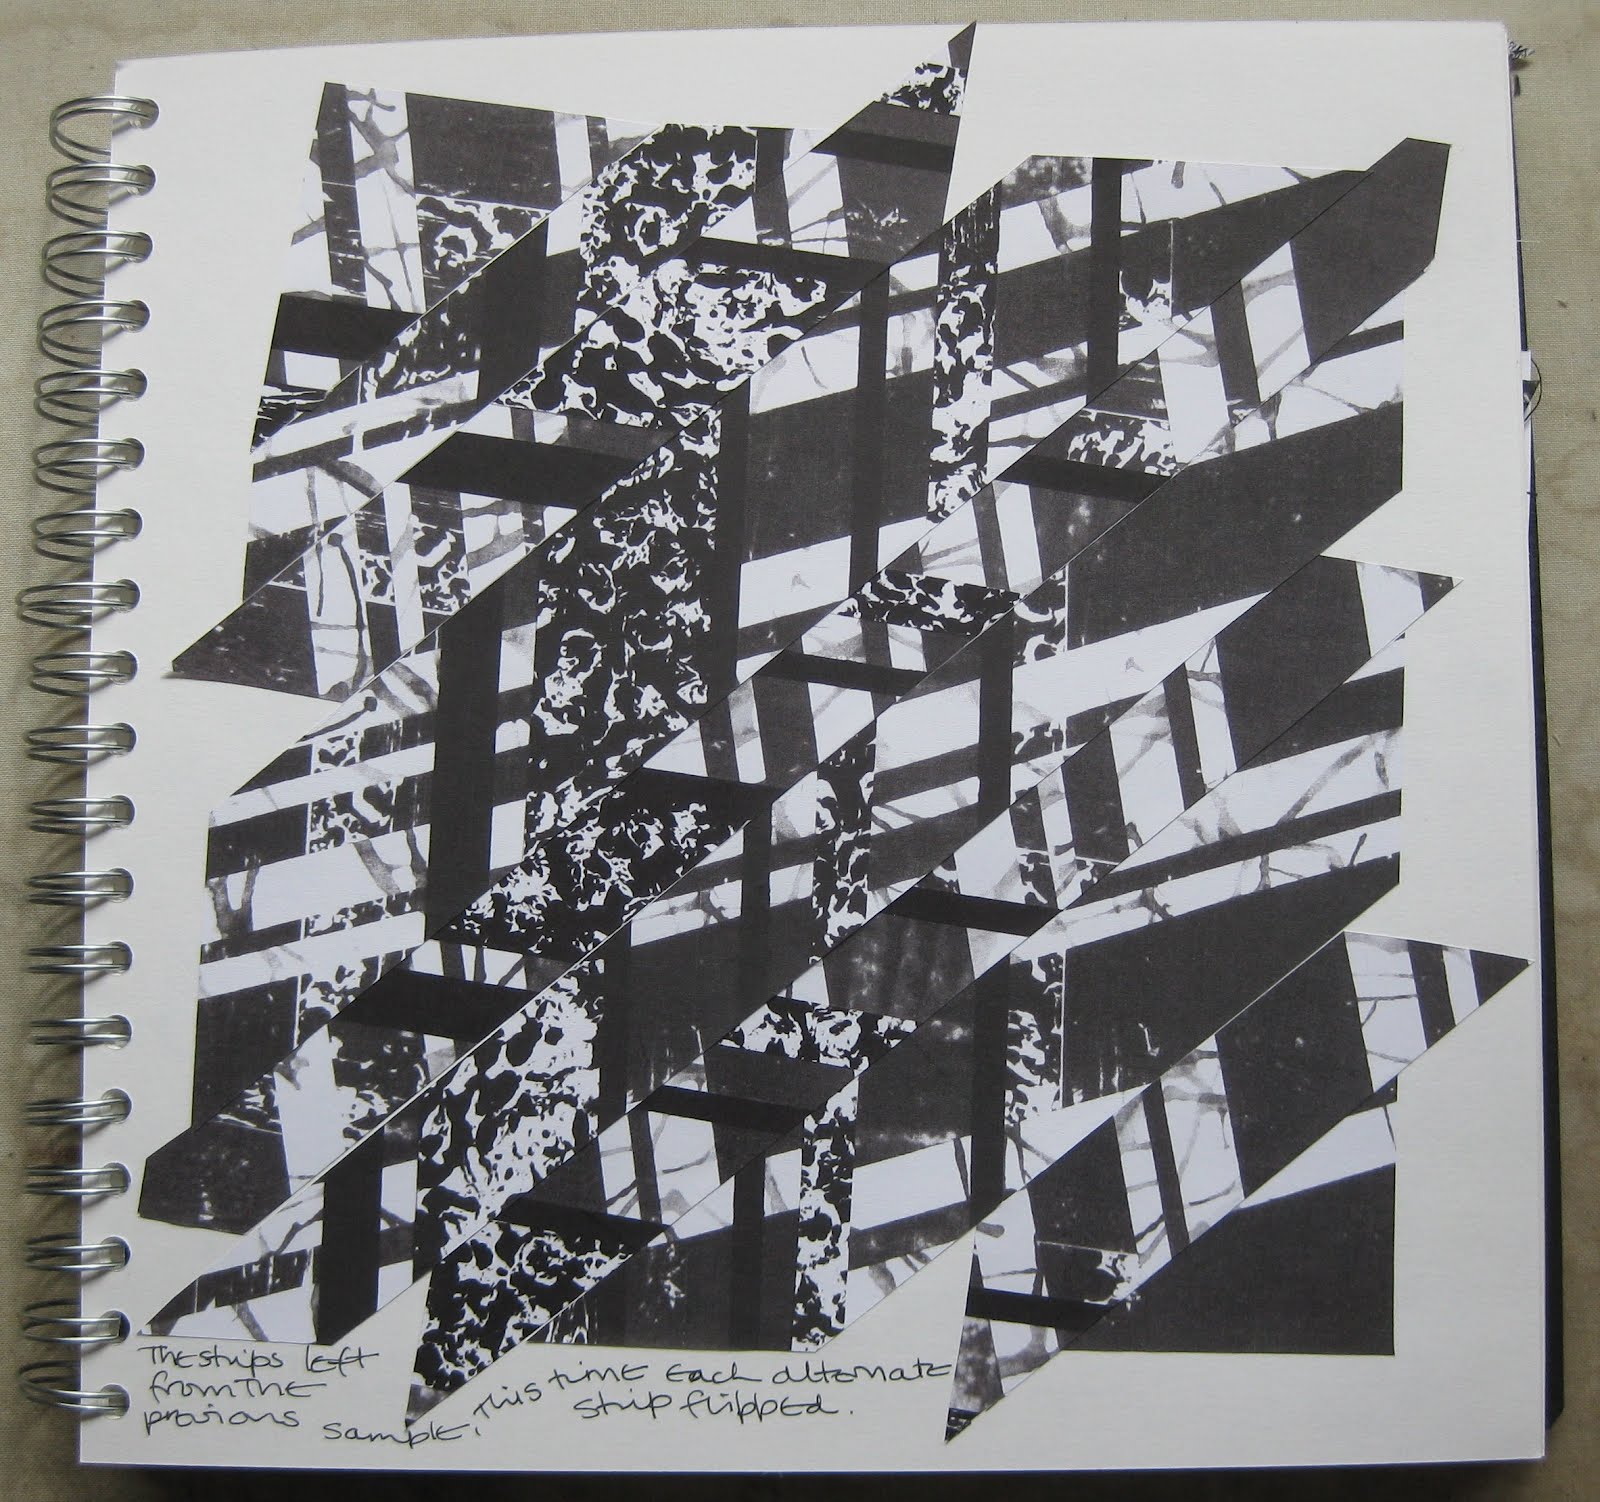
Once again I started with image 9 from the previous post. I made 2 photocopies, laid them face to face and made a series of cuts through both layers. I then took alternate strips from each photocopy and laid them together in order without turning any round. The second image below was made using the remaining strips, but this time I turned each alternate strip round.

Once again I started with image 9 from the previous post. I made 2 photocopies, laid them face to face and made a series of cuts through both layers. I then took alternate strips from each photocopy and laid them together in order without turning any round. The second image below was made using the remaining strips, but this time I turned each alternate strip round.
2.11.29
2.11.30
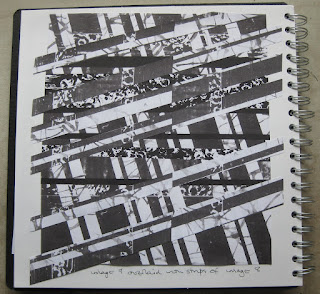
For this image I started again with image 9 from the previous post and overlaid it with some diagonal strips cut from image 8 from the previous post.

2.11.30
For this image I started again with image 9 from the previous post and overlaid it with some diagonal strips cut from image 8 from the previous post.
2.11.31
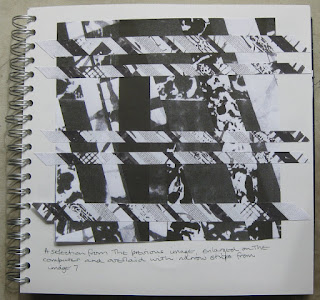
I wanted to try and change the scale, so I scanned the above image into my computer and using PSP 10 I selected a small area and printed it out larger. Then I overlaid it with some diagonal strips cut from image 7 from the previous post. The second image below has some additional vertical strips.

I wanted to try and change the scale, so I scanned the above image into my computer and using PSP 10 I selected a small area and printed it out larger. Then I overlaid it with some diagonal strips cut from image 7 from the previous post. The second image below has some additional vertical strips.
2.11.32
2.11.33

The next development was to try some torn rather than cut strips, and I decided I needed to try and get as much contrast between the two layers. So I started with image 1 from the previous post and overlaid it with torn strips from image 7 from the previous post, and then repeated it with image 2 from the previous post which was the darkest image.
2.11.34

2.11.35

2.11.35

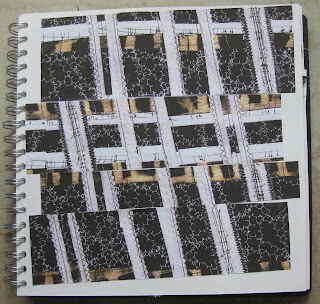
Sian also made some suggestions for further steps to two of the fabric samples. So starting with image 19 from the previous post, I made some photocopies to see what I might do before I cut the textile sample. Firstly I made some horizontal cuts and shifted the pieces. Fot the second paper piece, I made diagonal cuts and rearranged the pieces having turned some of them round.
2.11.36
2.11.37
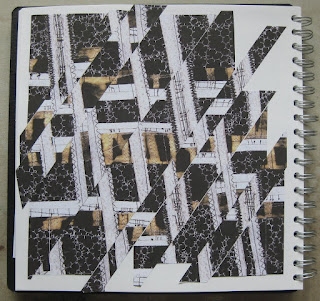
I liked the second one best, so decided to make similar cuts in the textile sample. I started to piece them back together using forward facing seams, but decided that was going to give me yet another series of strong lines which was why was unhappy about the sample in the first place! So I butted up the edges and joined them together with a simple zigzag stitch.
2.11.38
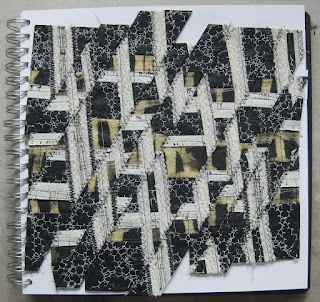
Now to tackle textile sample 21 from the previous post. First I made some horizontal cuts and rearranged them, then I made some diagonal cuts and rearranged them, and finally I made some slanting horizontal cuts, and rearranged them. I liked the second one best, so used that principle on the textile sample. I stitched the pieces back together again by butting up the edges and stitching together using a whip stitch with cream in the bobbin and black on the top.

Now to tackle textile sample 21 from the previous post. First I made some horizontal cuts and rearranged them, then I made some diagonal cuts and rearranged them, and finally I made some slanting horizontal cuts, and rearranged them. I liked the second one best, so used that principle on the textile sample. I stitched the pieces back together again by butting up the edges and stitching together using a whip stitch with cream in the bobbin and black on the top.
2.11.39

2.11.40

2.11.41

2.11.42


2.11.40

2.11.41

2.11.42