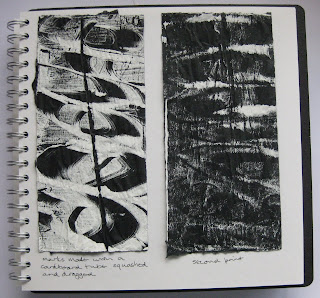
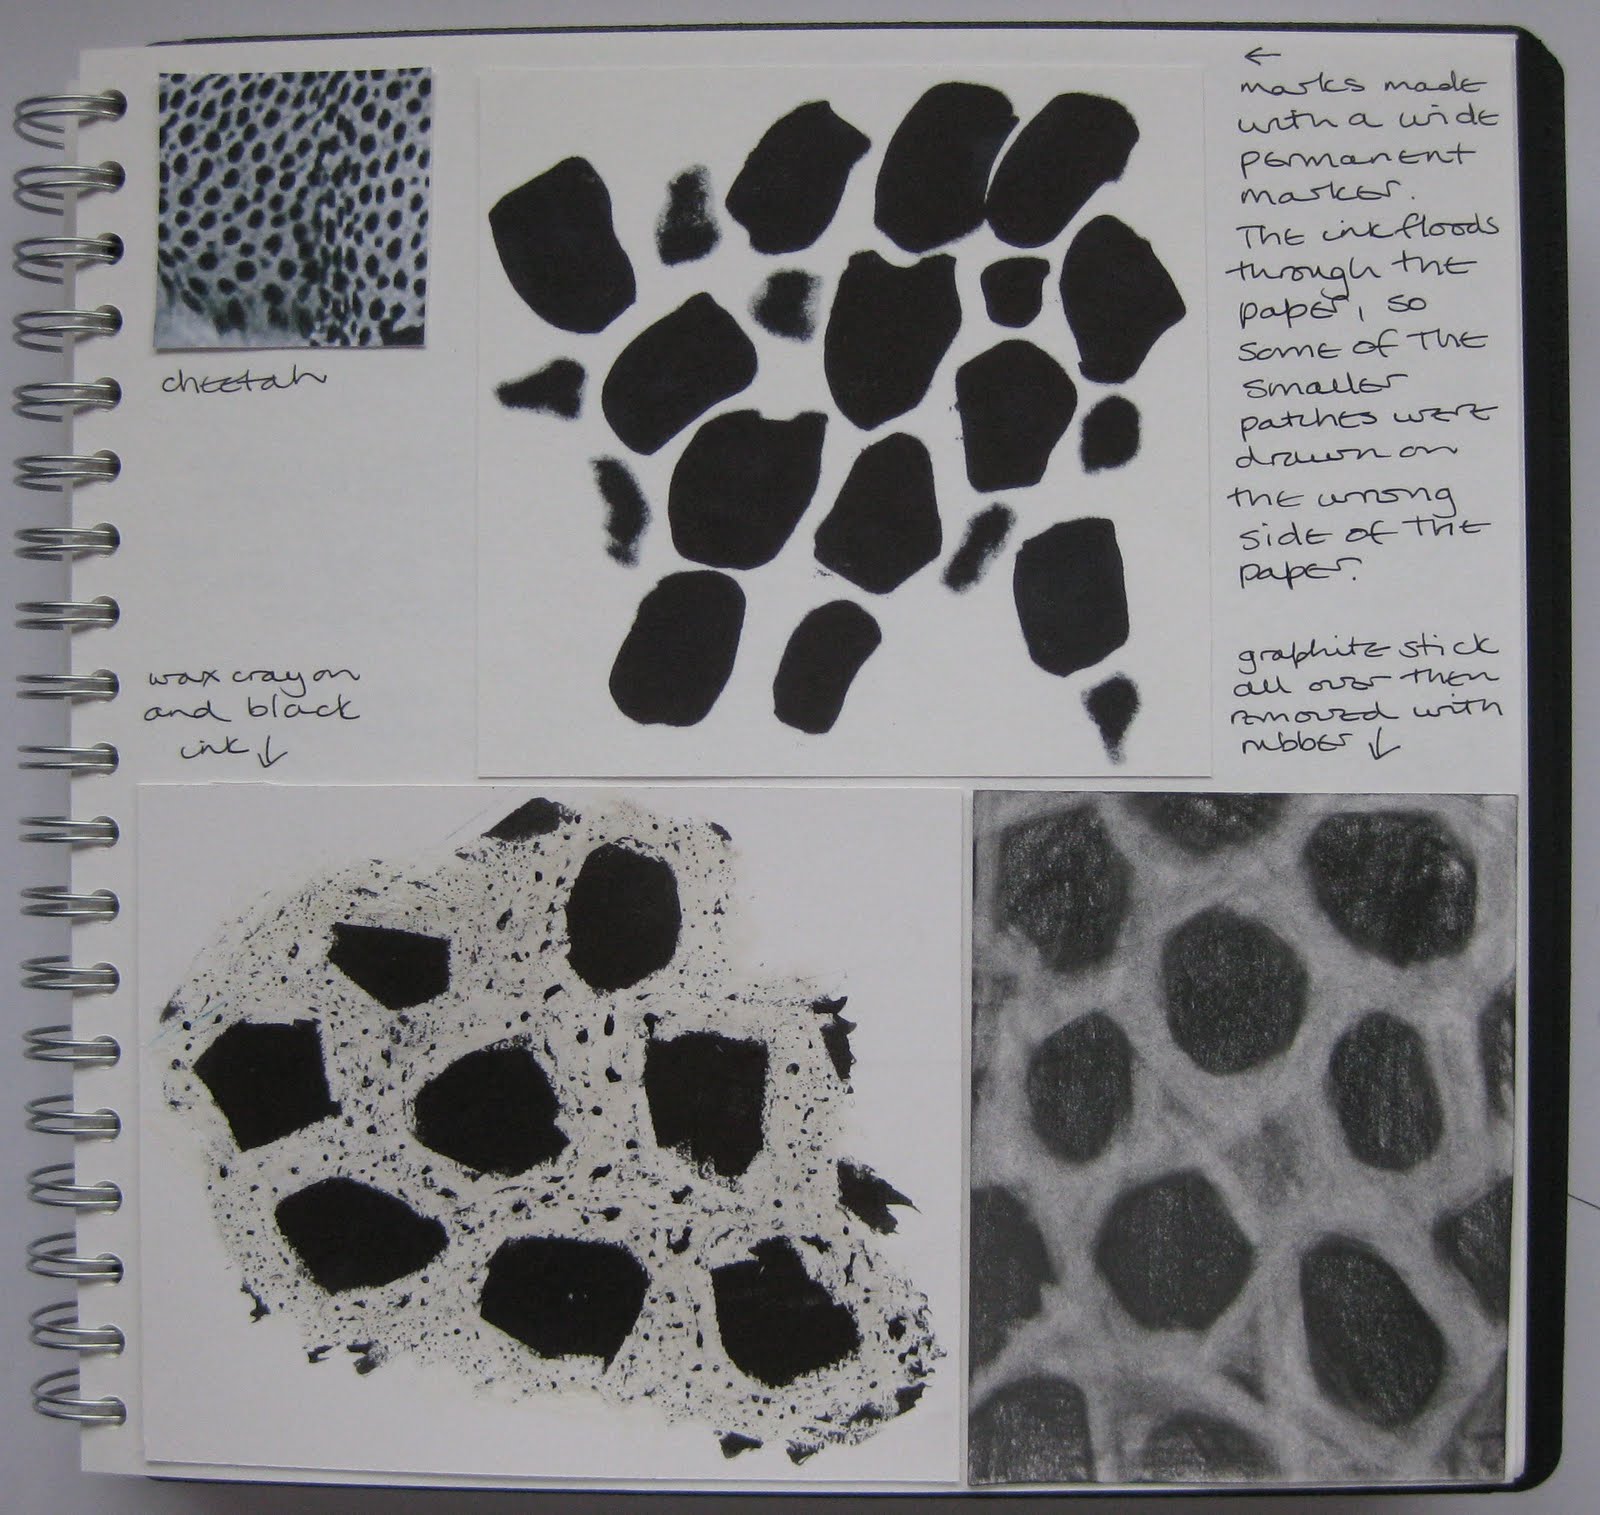
But first, a bit more of Chapter 1 - a further three tonal columns using techniques suggested by Sian. The first two are white wax crayon on white paper, then painted with black ink - quite a difficult technique to keep control of as you can't really see the marks you are making on the paper. The third column is graphite stick all over, and marks removed using a rubber - interesting!
2.1.8

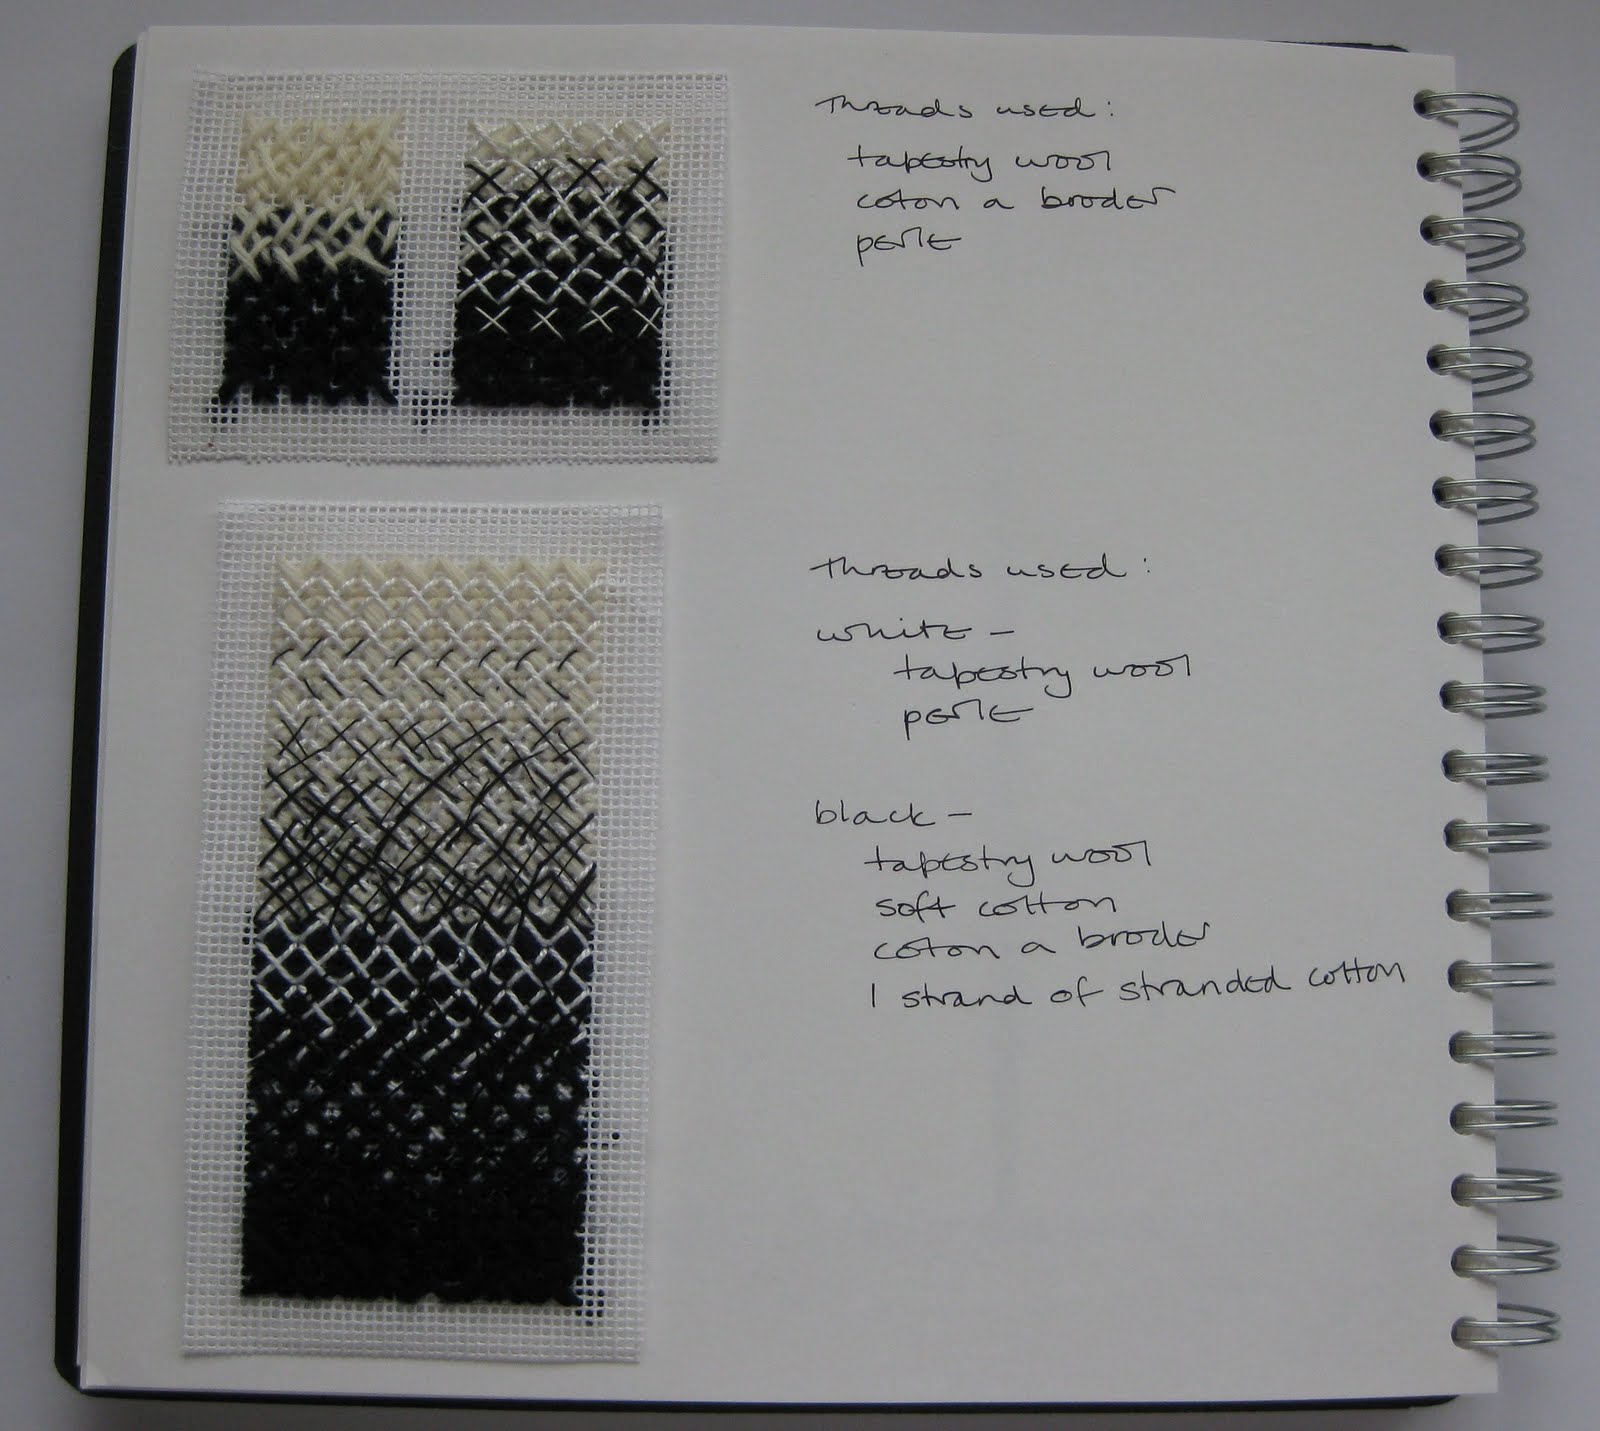
Now Chapter 2 - sticking with tonal columns but this time using stitch, firstly using a variety of black and white threads on canvas. I did 2 mini samples before tackling the main sample. The left hand sample uses black and white tapestry wool and fairly random crosses. The right hand sample uses tapestry wool, coton a broder and perle, and the crosses are much more organised, which I prefer. I am really pleased with the main sample.
2.2.1

The next challenge is to make a series of tonal columns using blackwork, a technique which I played with a few years ago. This is one of the samples I did then, exploring blackwork patterns using pattern development and change of threads to make the tones.
2.2.2

So, three examples of achieving a tonal column using pattern development. The idea for the design for the third sample came from the back of the other blackwork samples. I love the patterns that appear on the back particularly if you have taken the same journey with the needle in each pattern. Blackwork patterns tend to look Tudor no matter what you do, but this third sample doesn't!
2.2.3

2.2.4

2.2.5

2.2.6

Now a tonal column that uses changes in the thread thickness to make the tonal changes......
2.2.7

..... and a column that uses the spaces between the stitches to control the tone.
2.2.8

These final samples were done a few years ago at the same time as the first blackwork sample above. I wanted to try and break away from traditional blackwork, so I worked on calico rather than an evenweave fabric, which makes the stitches slightly more haphazard than with evenweave. I also added in black bugle beads as the darkest tone.
2.2.9

This final sample was done for a competition at my local EG branch - not a very good image I'm afraid. Once again , the pattern was stitch on calico, and I have used black bugle beads as the darkest "thread". It didn't win!!
2.2.10


 And finally making monoprints.
 And finally making monoprints.


 2.5.13
 2.5.13