Wednesday, 10 August 2011

Module 2 Chapter 9


The Fibonnaci Sequence and the Golden Section

Leonardo Fibonnaci was a thirteenth century mathematician who devised a sequence of numbers, each being the sum of the previous two - 0 + 1 = 1 ; 1 + 1 = 2 ; 1 + 2 = 3 ; 2 + 3 = 5 ; 3 + 5 = 8 ; 5 + 8 = 13 ; 8 + 13 = 21 etc.

The numbers in the sequence are in the same ratio as a number of patterns in nature:
  • the spiral of seeds in a sunflower
  • the spiral of shells and ammonites
  • pine cones
  • the division of stems and branches of plants and trees
  • the number of petals in a flower
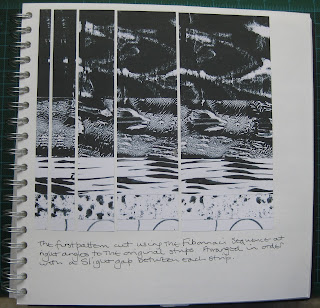
Using these proportions makes a pleasing series of stripes, and all the following designs are made by cutting paper using the sequence and rearranging them.

2.9.1

2.9.2

2.9.3

2.9.4

2.9.5

2.9.6

2.9.7

2.9.8

2.9.9

2.9.10

2.9.11

The Golden Section is a series of squares drawn using the Fibonnaci sequence.

2.9.12

2.9.13

2.9.14

2.9.15

2.9.16

2.9.17
2.9.18


Wednesday, 27 July 2011

Module 2 Chapter 8 - a few extras

Following a very thought provoking critique from Sian, I decided to explore a few things in Chapter 8 a bit more.

Firstly Sian suggested making the fabric insert in the seam act as a transition between 2 different fabrics. Below are 2 attempts.

2.8.10

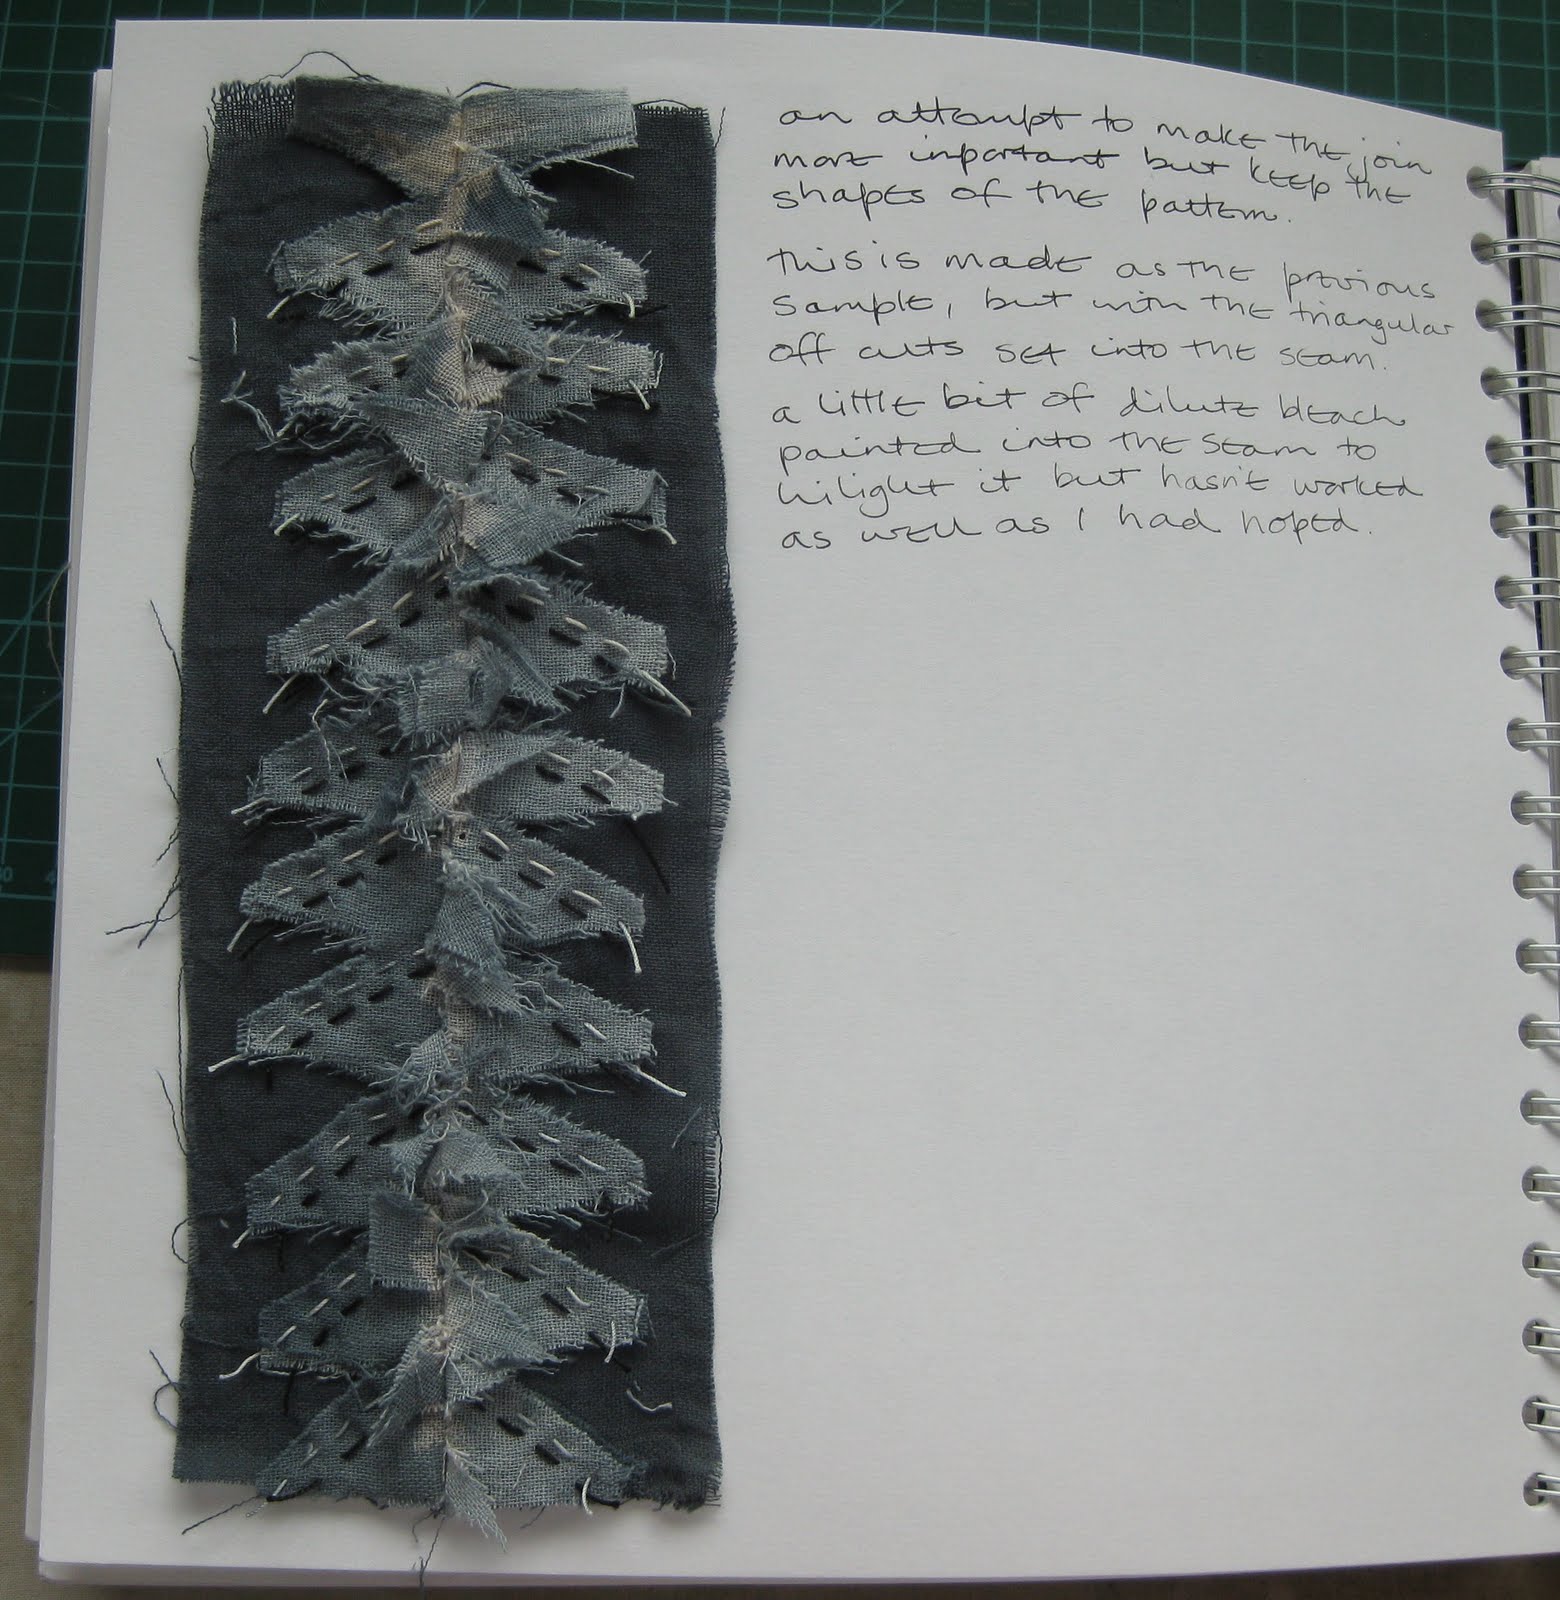
Next, to try and make the join on one particular sample (image 2.8.3 in the main Chapter 8 post) more important but keeping the shapes of the pattern.

2.8.11

And finally to make some strips that are more organic.

2.8.12

Tuesday, 19 July 2011

Module 2 Chapter 8

Not what it seams!

First, a series of inserts into seams to decorate them.

2.8.1

2.8.2

2.8.3

2.8.4

2.8.5

2.8.6

Then a series of decorated strips and ribbons.

2.8.7

2.8.8

And finally cords and toggles.

2.8.9

Summer School at Urchfont Manor

Every summer, Distant Stitch runs a summer school at Urchfont Manor in Wiltshire. Urchont Manor is a beautiful 18th century house set in extensive grounds. It's a lovely place to stay, and the food is delicious - important when you are working hard.

It was lovely to meet Sian and so many fellow students and put faces to blogs!

The group I was in spent two and a half days working with Jan Evans, a wonderful, inspiring and generous tutor, who showed us how to apply texture, colour and pattern to fabric, using emulsion paint, acrylics, print blocks and rubbings. We didn't start stitching until well into the afternoon of the second day!

At the end, we all had to put together a small display of our work to share with each other and the other group - this is mine.


Below are strips of samples made by painting patches of white emulsion paint on to calico, embedding bits of scrim into the paint to create texture. The top right sample has had a little bit of ochre (from Clearwell Caves in the Forest of Dean) added to the emulsion paint. Once the paint was dry, rubbings (on tissue paper made with wax crayons and Caran Dache watercolour pencils) were applied using soft gel matte medium.


The fabric for the three remaining samples was made using white emulsion paint to create marks and textures on a piece of calico, and then painted with acrylic paint when dry. Texture and pattern was then applied using soft gel matte medium, and finally a little bit of embroidery.


An excellent if intensive few days (it took me a couple of days to recover), I really enjoyed the techniques. I can't wait for next year!

Friday, 17 June 2011

Module 2 Chapter 7

Traditional piecing methods.

At Sian's suggestion (in her comments about an earlier chapter), I started by trying to make a tonal column from my printed and painted papers. I have so many it proved extremely difficult, so I settled for making two, only using some of my papers.

2.7.1

2.7.2

The first task is to make some log cabin patterns using my papers. The first sample is a simple log cabin using inch wide strips of paper, which I tore against the edge of a ruler. All these samples are in a 10" square sketchbook.

2.7.3

The next two samples are the "Courthouse steps" method. In the first sample I worked from light to dark, and in the second sample, I worked from dark to light. The width of the strips is slightly less than one inch and they are torn against the edge of a ruler. I find it fascinating that, particularly in the dark to light sample, the various patterns appear to merge and run into each other.

2.7.4

2.7.5

I find my computer such a powerful design tool, that I can rarely resist a bit of scanning and playing. I use Paint Shop Pro 10, although I barely scratch the surface of its potential.

2.7.6

2.7.7

I'm not sure where the idea for the next two samples came from, but I am quite pleased with the results. I am particularly pleased with the change in the tonal values as I worked round. With hindsight it might be interesting to change to the next paper after 3 sides round the square instead of 4.

2.7.8

2.7.9

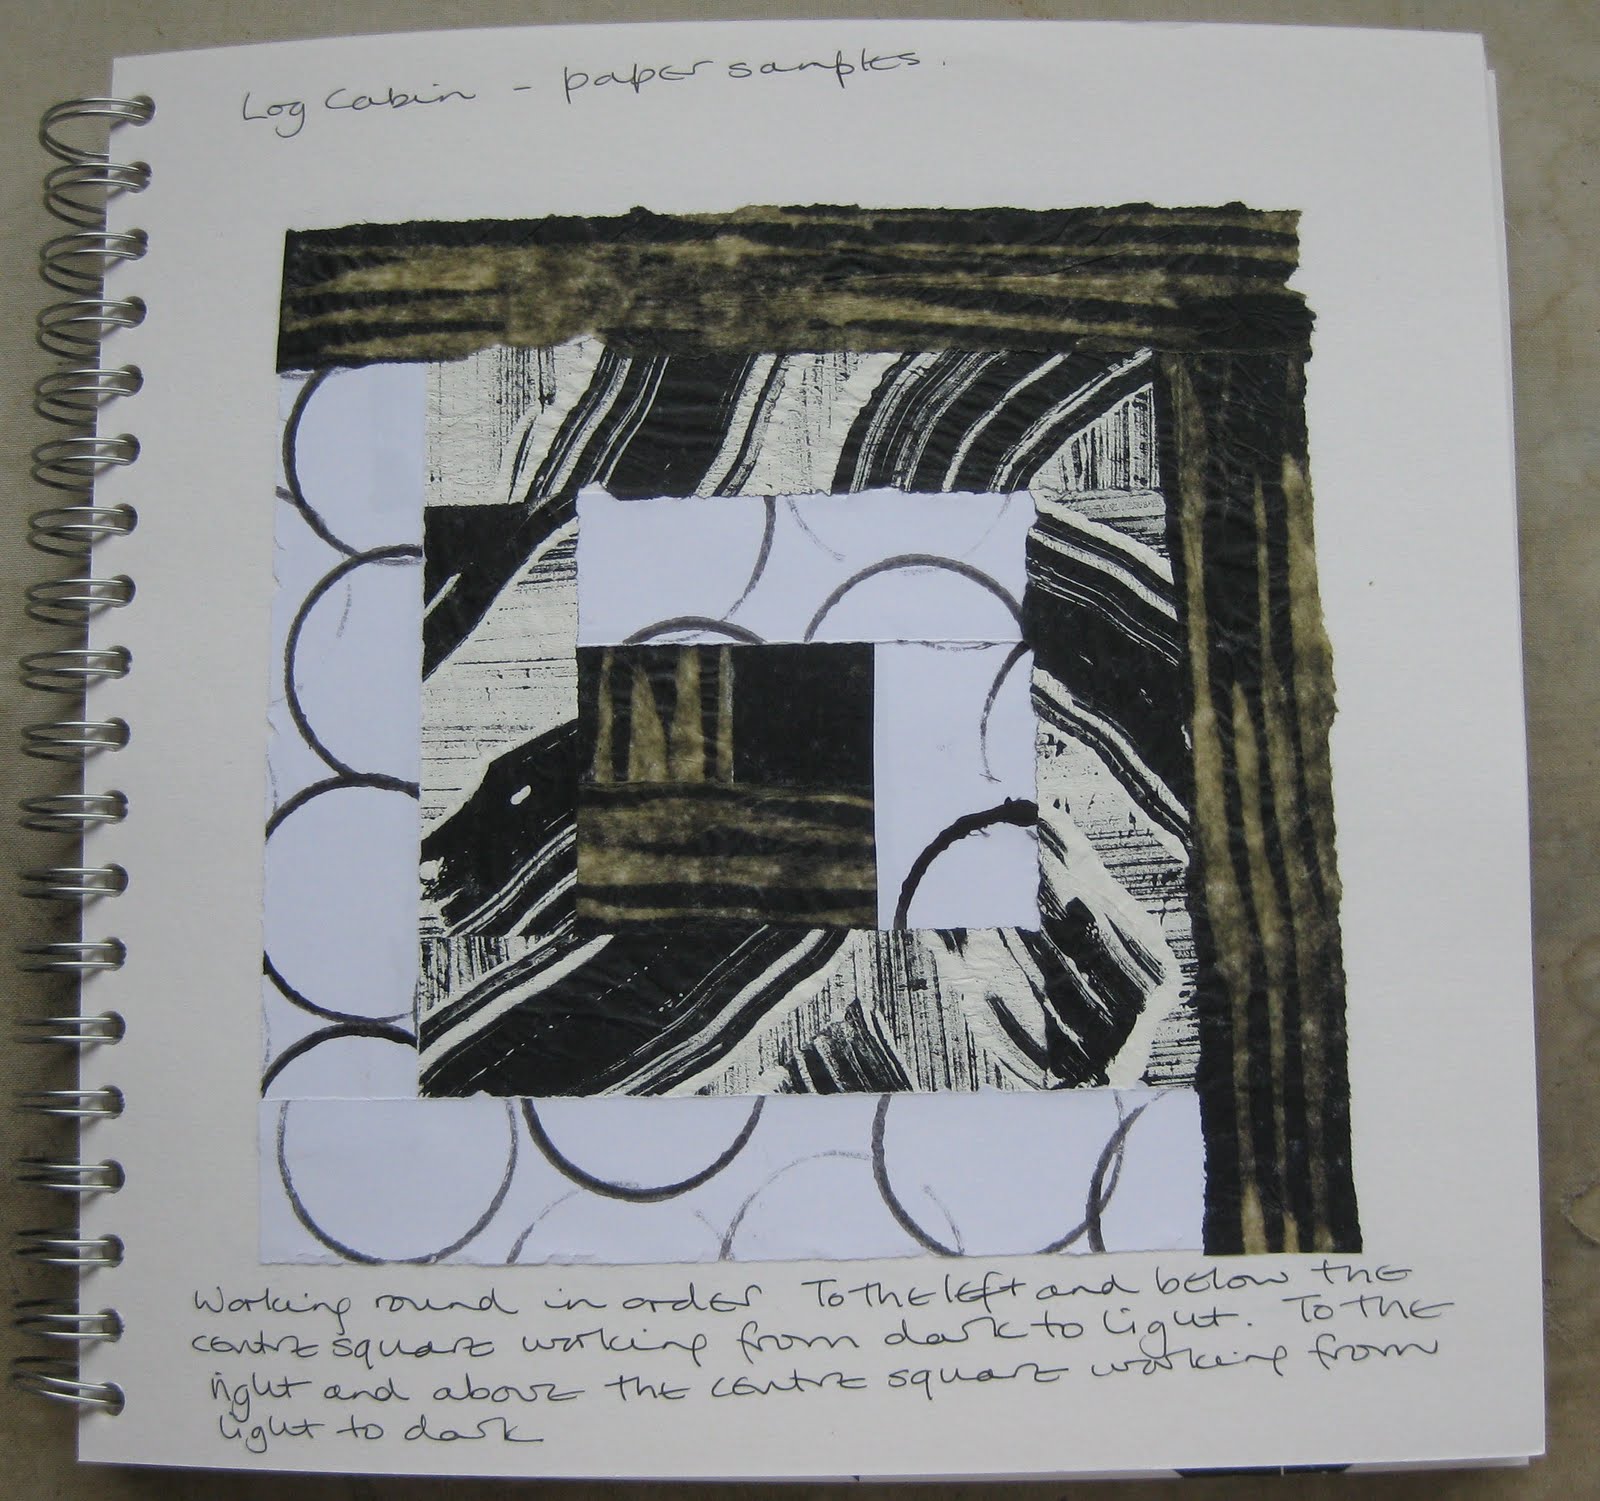
In this final log cabin sample, I worked round in the traditional manner, but with the centre offset. I used narrow strips on two sides and slightly wider strips on the others, and worked from dark to light on one side and light to dark on the other.

2.7.10
I scanned the design into PSP10, and flipped and mirrored the design to make two repeat patterns, one with the white corner in the centre and the other with the dark corner in the centre.

2.7.11

2.7.12

Now onto the seminole method of piecing. The principle here is that strips of fabric are stitched together, cut up and repieced to create more complicated patterns.

2.7.13

2.7.14

2.7.15

2.7.16

2.7.17

The next task is to recreate the paper designs in fabric - log cabin patterns first, then seminole.

2.7.18

2.7.19

2.7.20

2.7.21

2.7.22

2.7.23

2.7.24

2.7.25

2.7.26

2.7.27

2.7.28

2.7.29